Maintaining your nails isn’t that simple of a task. It requires so many things and care.
So, if you are tired of peeling and splitting nails, then knowing the nail buffer usage guide is important to take care of your nails.
That’s why, to provide all the necessary information, this article has the steps to buff nails and tips for using a nail buffer, which will greatly help you.
Table of Contents
Why do People use Nail Buffer?
For nail design, having beautiful and clean nails is very important; nail buffering is essential.
There are various reasons why people use nail buffer; the most common ones are,
- After cutting the nails, it’s important to use a nail cutter to even them out and a buffer. It’s more than just removing the surface ridges and unevenness of the nail tips.
- Then, using a nail buffer on the nails gives them a natural shine without using nail polish. It keeps the nails healthy and shiny.
- Not only women but also men use nail buffers, which remove stains and discoloration from the nails. This keeps the nails clean and well-maintained, which is a very important part of daily hygiene.
- The nail buffer smooths the surface of the nails so the nail polish sets properly. The smoothness of the nails allows the nail polish to stay properly for a long time.
- Another important part is that buffering your nails reduces the chances of splits or tearing. It also promotes healthier and stronger nail growth.
How to Use Nail Buffer?

Now that you understand what nail buffers are for, you should understand the steps to buff nails. Without proper instruction for nail buffering, it’s easy to damage your nails.
So let’s find out how to use a nail buffer and the steps to buff nails that you need to follow,
- Step 1: If you are wearing nail polish, you must remove it. Use a cotton pad to clean the polish from your nails.
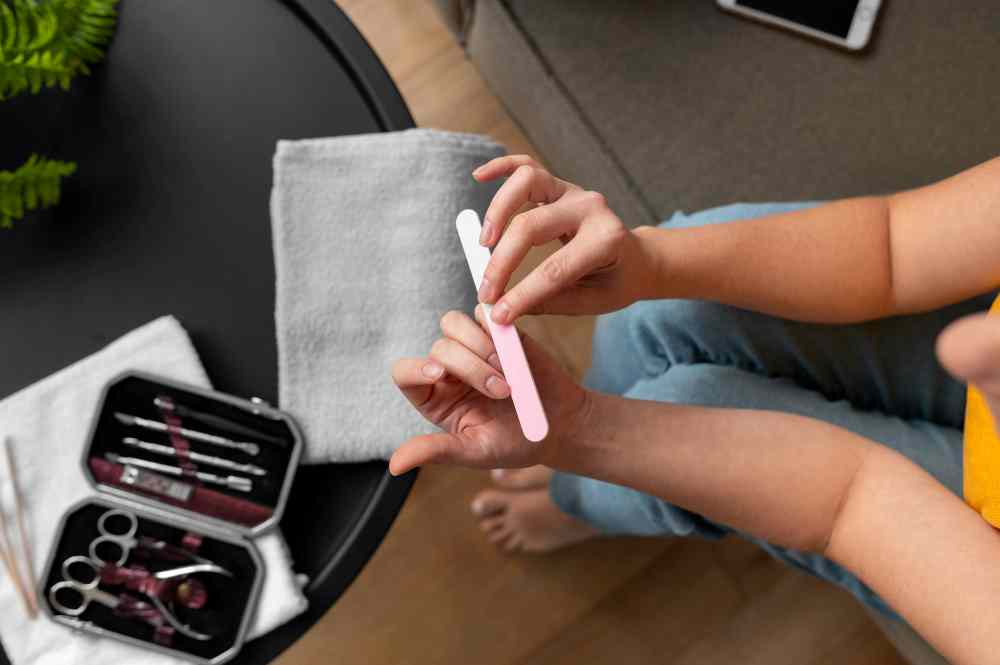
- Step 2: Make sure to trim your nails using a nail clipper or nail file.
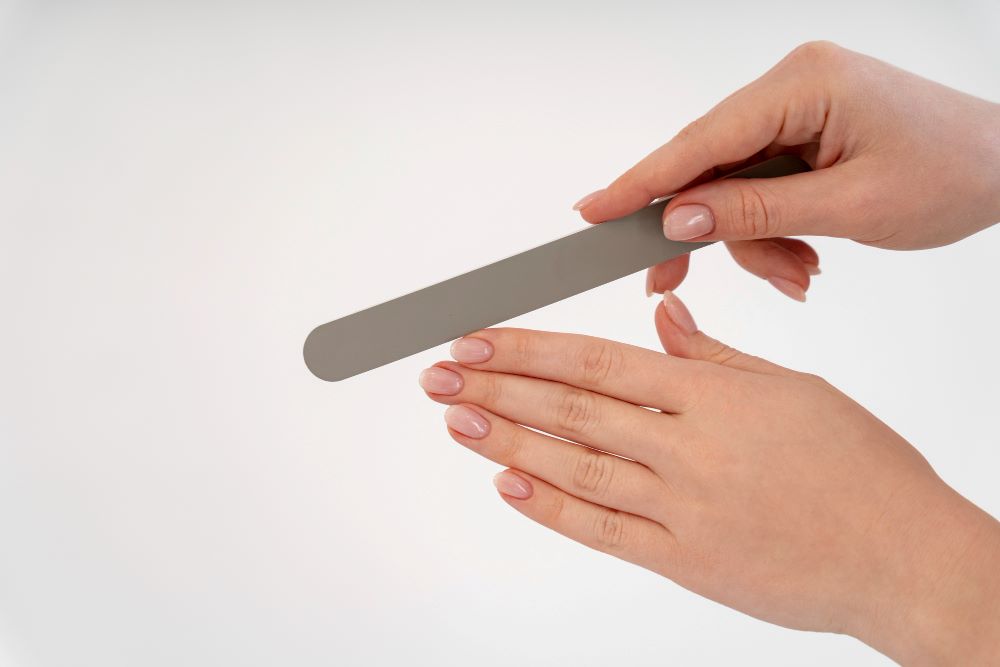
- Step 3: Then, based on your preference, do an oval, round, or square-shaped trimming using the Nail file.
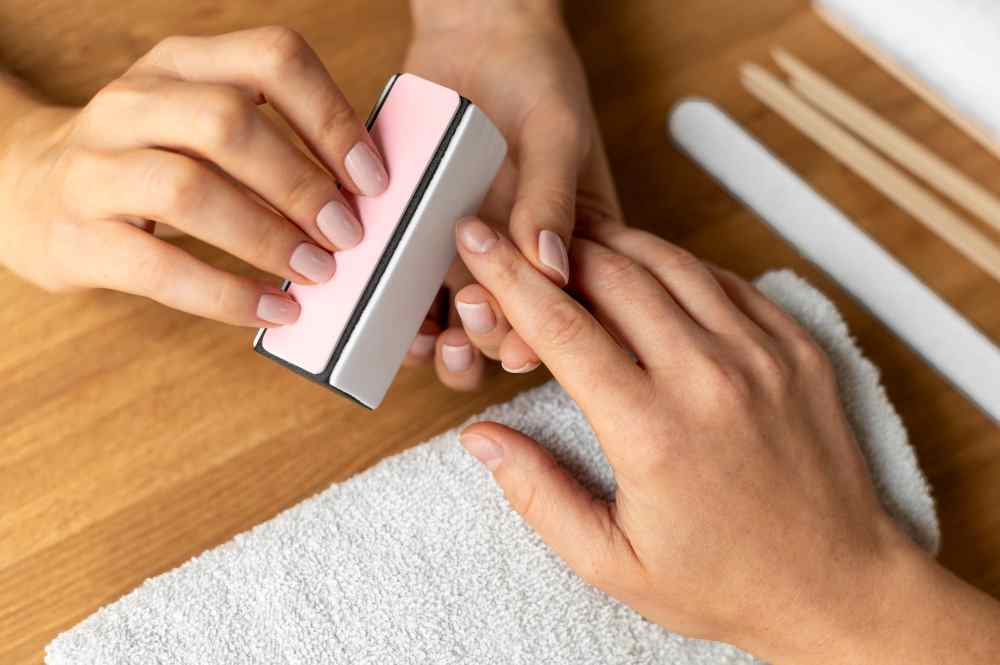
- Step 4: Then, using the large grit of the buffer, smoothen your nail surface by applying a one-direction stroke.
- Step 5: Then, using the same one-directional stroke, use the finer grit side to make your nails look shiny and polished.
- Step 6: Then, apply some moisturizer to your hand. After that, you can apply nail polish to your nails.
5 Tips for Using a Nail Buffer
Understanding the steps to buffer your nails is a tip in itself. However, there are a few other tips that can be beneficial when buffering your nails.
So, the tips for using a nail buffer is,
Tip-1 Use the Right Buffer
You must choose a buffer of appropriate size for a better result. If you don’t know, the nail buffer comes with different grit levels, and in most cases, the grit level is different on each side of the buffer.
One side of the buffer is for shaping and smoothening the ridges, while the finer side is used to polish and shine.
So, by investing in a high-quality buffer, you will experience better results without damaging your nails.
Tip-2 clear your nail

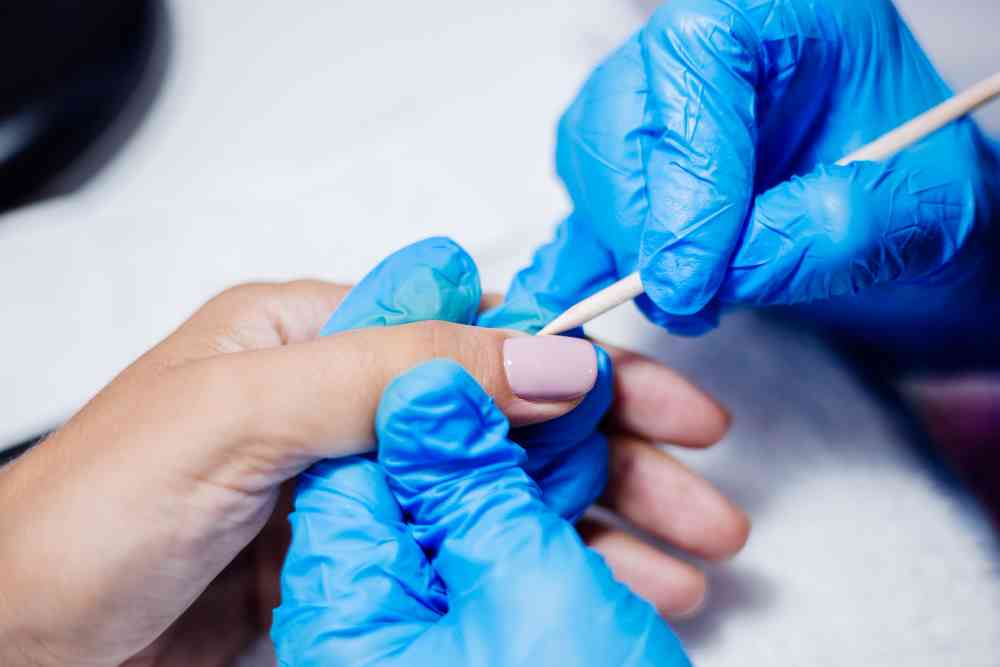
Cleaning and drying your nails is very important before buffering. If your nails have any police dirt, use a nail brush or a toothpick to clean them.
Also, make sure they’re dry, as nails can break easily. What you don’t know is that the buffing process can spread bacteria, so clean your hand with mild soap.
Tip-3 Buff in one direction

Most people make this common mistake by buffering the nail back and forth using the tool. Doing so increases the chances of splitting and feeling the nails.
So, a consistent stroke in one direction creates a smoother and more even surface of the nails. This method may seem a bit time-consuming, but it’s better than broken or peeling nails.
Tip-4 Don’t Overdo It
People are always confused about how to use a nail buffer. Before that, they should understand that buffing is good for your nails, but it can be harmful if you overdo it.
Frequent buffing can make your nails thin, and soon, you will end up with peeling or splitting nails. So, it’s better to buff your nails once every 2 to 4 weeks.
Tip-5 Buff the edge
After you’re done buffing, don’t forget to buff the edges and tips of your nails. These two areas are prone to roughness and splitting.
So, to avoid that, you can simply buff them a bit to smooth them out. This will keep your nails safe and strong.
Conclusion
In the end, I hope the instructions for nail buffing are clear. Following the steps to using a nail buffer is not that difficult.
Also, following the tips will undoubtedly result in healthy and good-looking nails. So, do try the steps and the tips.

